I have been contemplating microblading for years now. I have seen some really great microblading work and some really bad microblading work… I’m sure you know what I’m talking about. When I moved to Austin, I decided to finally bite the bullet and try it out! Then… coronavirus happened and my appointment got postponed until the late spring. By that point, though, I was outside way too much and wasn’t willing to go without sweating (aka being outside for more than 60 seconds) or swimming for the two-week healing period. I decided to wait and reevaluate in the winter and see if I still wanted to do it. Well, I did. I made my appointment for February 23rd… happy birthday to me, I suppose! I figured this would be a great opportunity to walk you through my experience and my thoughts on everything.
THIS POST MAY CONTAIN AFFILIATE LINKS, WHICH MEANS I RECEIVE A COMMISSION IF YOU CLICK + PURCHASE SOMETHING. PLEASE VIEW THE DISCLOSURE POLICY FOR MORE DETAILS. THANK YOU FOR YOUR SUPPORT + HAPPY SHOPPING!
What is Microblading?
Microblading is a cosmetic tattooing technique in which a small handheld tool made of several tiny needles is used to add semi-permanent pigment to the skin. Microblading is typically used on eyebrows to create, enhance or reshape their appearance in terms of both shape and color. It deposits pigment into the upper region of the dermis, so it fades more rapidly than traditional tattooing techniques, which deposit pigment deeper. The microblading procedure is a semi-permanent tattoo. Like all tattoos, microblading can fade, depending on multiple factors, including quality of pigment/ink used, UV exposure, elements found in skincare products, medications. The treatment lasts from one to two years. A touch-up session is encouraged 6 weeks after the first microblading procedure and every 12-18 months thereafter.
Research
The first thing you need to do if you’re serious about getting microblading done is research people in your area (or however far you’re willing to travel) that offer this service. Look at actual reviews, check out their website, and scope their social media. I wanted before and afters, both immediately after and healed results. I was shocked how this was not standard for everyone, but it really wasn’t. Most people list their pricing online (both for the session and touch up), as well, which I always appreciate. I’d recommend finding a person whose work you love and falls in your price range. I wouldn’t recommend going with the cheapest person you can find, though… as they say good things aren’t cheap and cheap things aren’t good! I ended up deciding on Alyssa Arvie, owner of Beaute Studio in Georgetown, TX (and soon-to-be Austin, TX, too). She posts beautiful, consistent work on her Instagram page, and I felt drawn to her work.
Ask Questions
Once you’ve decided on who you’d like to do your microblading, I encourage you to reach out and ask any questions you have. Let them know you’re interested in booking a session with them but had a couple questions first. They should be more than willing to answer some basic questions first or set up a consultation with you to go over everything. There are different techniques now – OG microblading, powder brows, combination brows, etc. so go over all your options and see what they’d recommend. They are the experts after all!
Pre-Appointment
7 days before the appointment DO NOT:
- use Retinol / Retin-A, anti-aging, or exfoliating products
5 days before your appointment DO NOT:
- expose yourself to heavy sunlight.
- tweeze, wax, thread, or receive any hair removal services.
24 hours prior to your appointment DO NOT:
- take blood thinning medication like ibuprofen, aspirin, or fish oil supplements
- drink alcohol 24 hours before the procedure.
- drink coffee or anything with caffeine before the procedure.
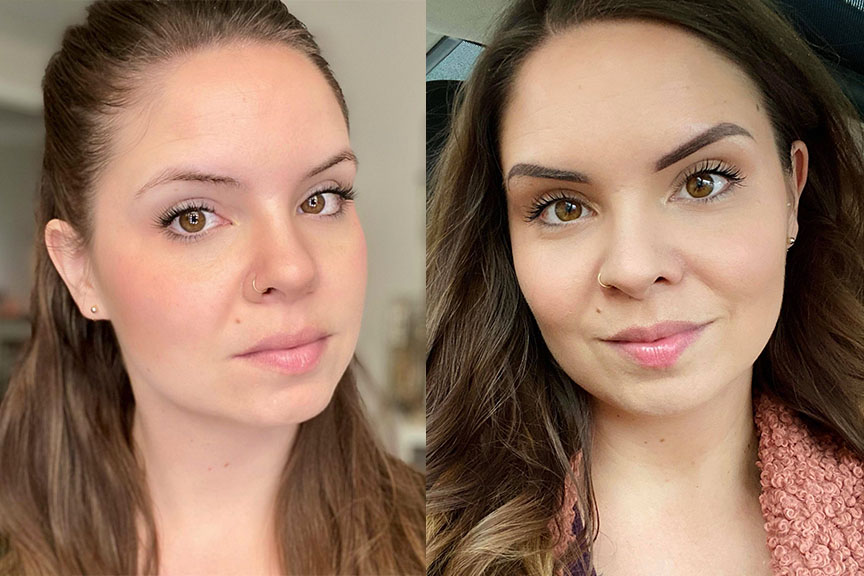
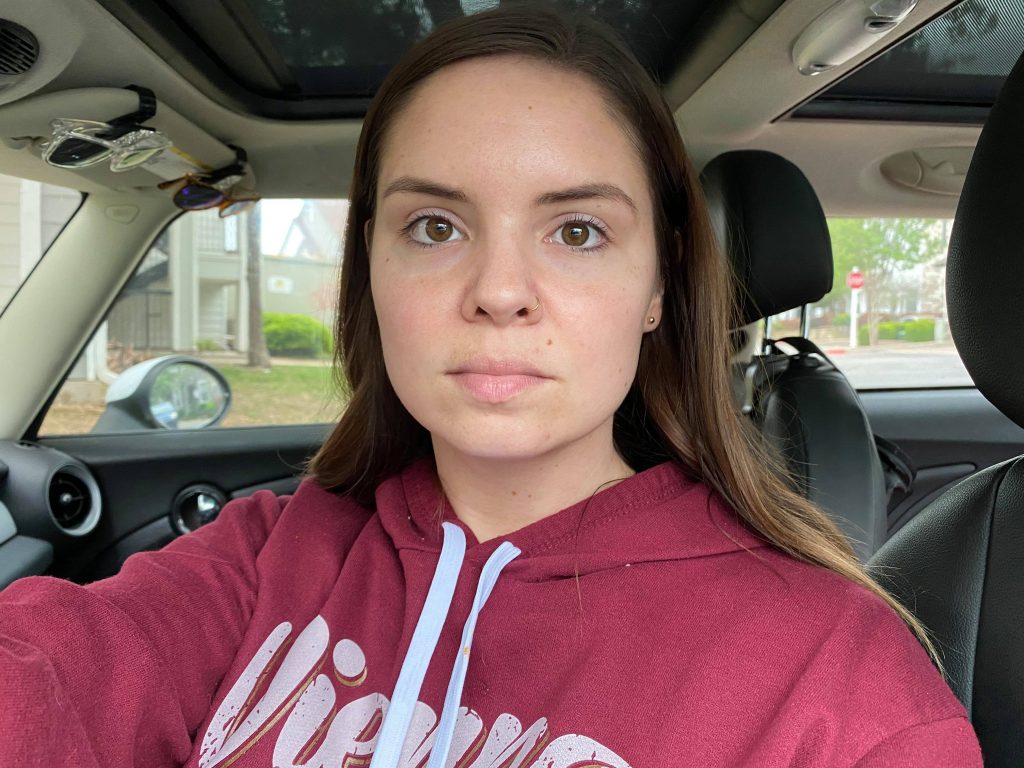
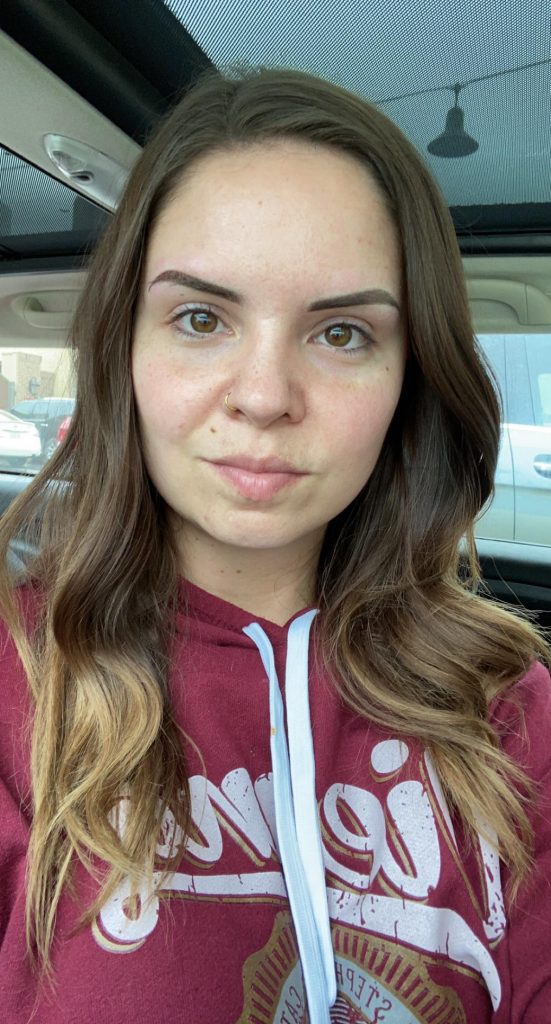
my natural brows
The Appointment
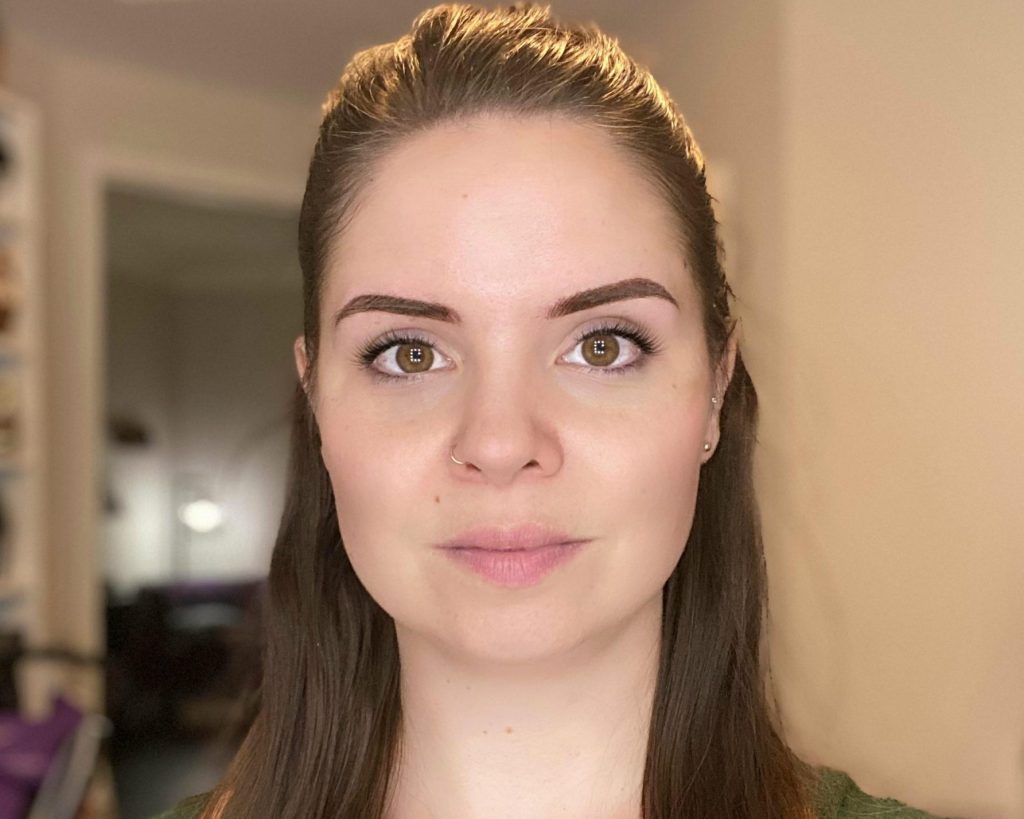
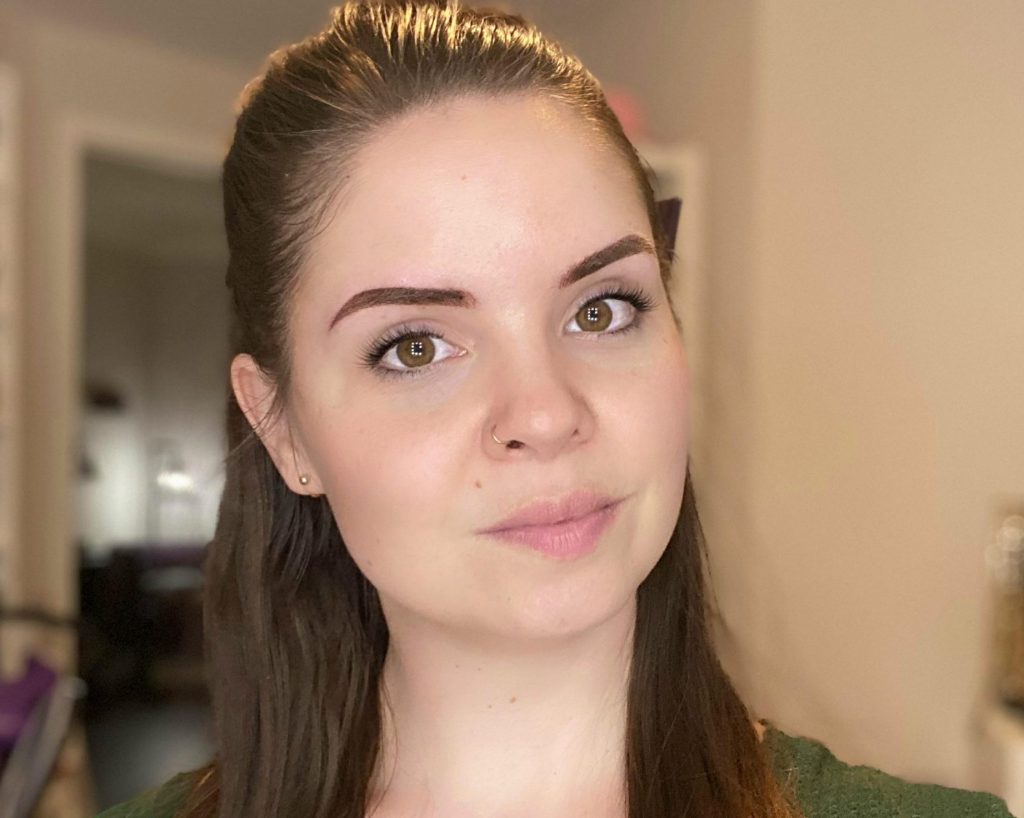
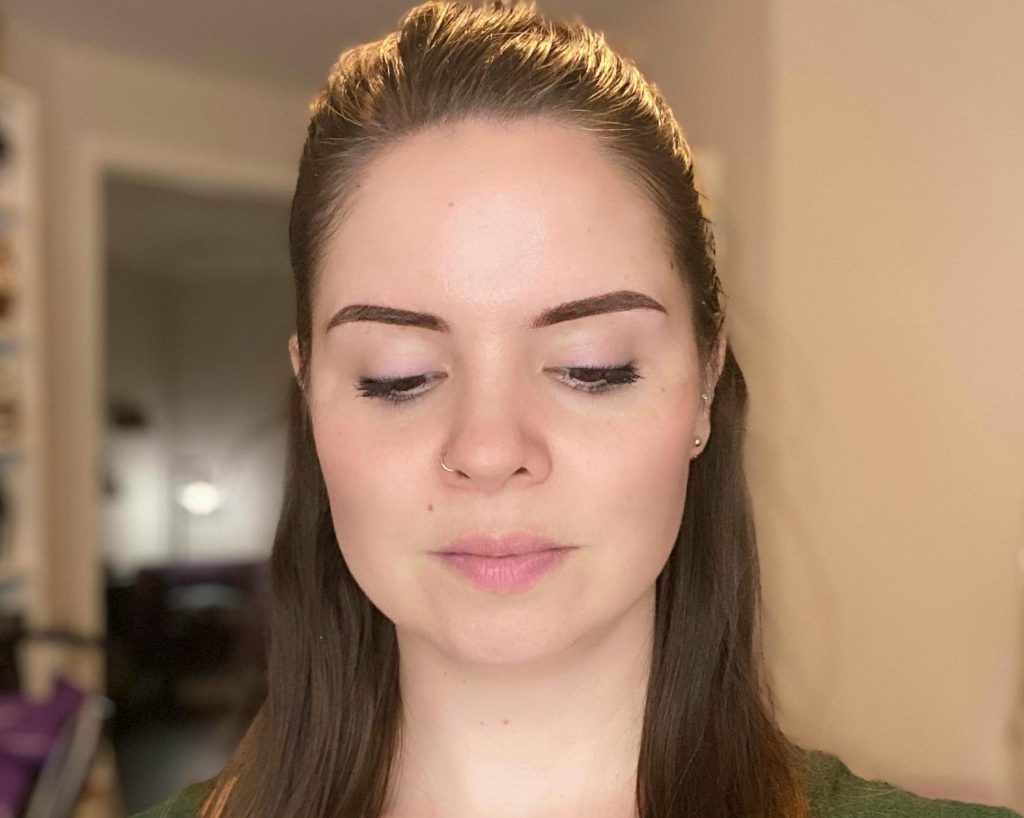
At my actual appointment, I had numbing ointment put on my brows first thing while I filled out paperwork. After we went back to the room where the *magic* happens (lol), Alyssa drew out the shape she recommended for my brows, then mapped out everything to ensure it was symmetrical. She asked about my typical shape and shade preferences when I filled in my brows with makeup to take into consideration as she did my microblading. We ended up doing a combination of microblading at the front of my brow and powder brow shading in the middle and tail of my brow. The microblading part was completely painless and the noise was the worst part. It sounds and feels like your skin is uber dry and someone is just scraping it. The powder portion was similar to a typical tattoo gun, but I could tell that Alyssa was using hair-like strokes instead of the usual tattoo technique. The entire time, Alyssa continued to apply numbing ointment, so the pain was very minimal. All and all, my whole appointment took about an hour and a half for everything. My friend, Allyson, sent me these Disposable Face Shields Masks that came in SUPER handy when you’re showering! Highly recommend them!
immediately after my appointment
Aftercare + Healing
The entire healing process will take around 4-6 weeks depending on your body’s regeneration process. Your new eyebrows will go through several phases during the healing cycle. Alyssa made sure to warn me that they will look way too dark and bold to begin with, but will lighten up as they heal. I had read about this and fully anticipated it, yet it is still a little jarring when you first see yourself in the mirror. They stayed dark and bold for 6 days and finally started to get flakey on the 7th day. From there, they slowly flaked off, and right around the 2-week mark were completely ‘normal’ looking. They were a lot lighter than before, but that’s to be expected and is part of the healing process.
6-8 Week Touch Up
After about 6 weeks, you go back in to get you brows touched up in case they didn’t heal evenly. It was essentially the same process, but much quicker since it’s just as-needed and not the entire brow. Your brows will be dark again, but only for about a week this time and it didn’t peel much at all this time around either. The healing instructions were the exact same, as well: don’t pick at them and don’t get them wet.
immediately before and after my touch up
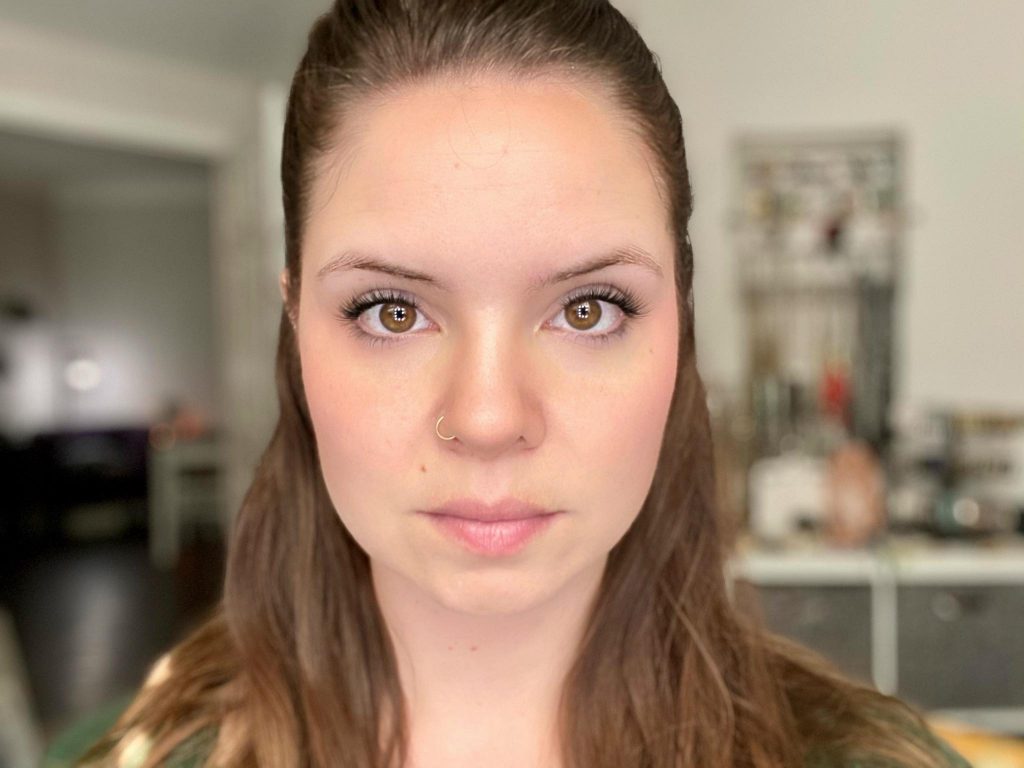
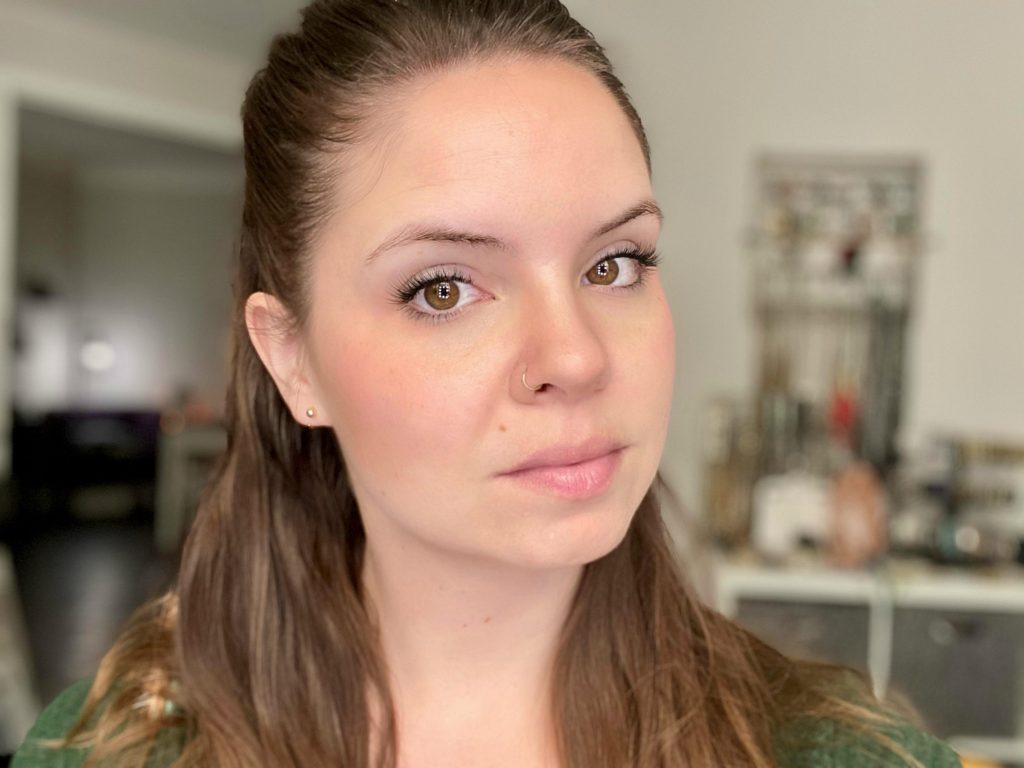
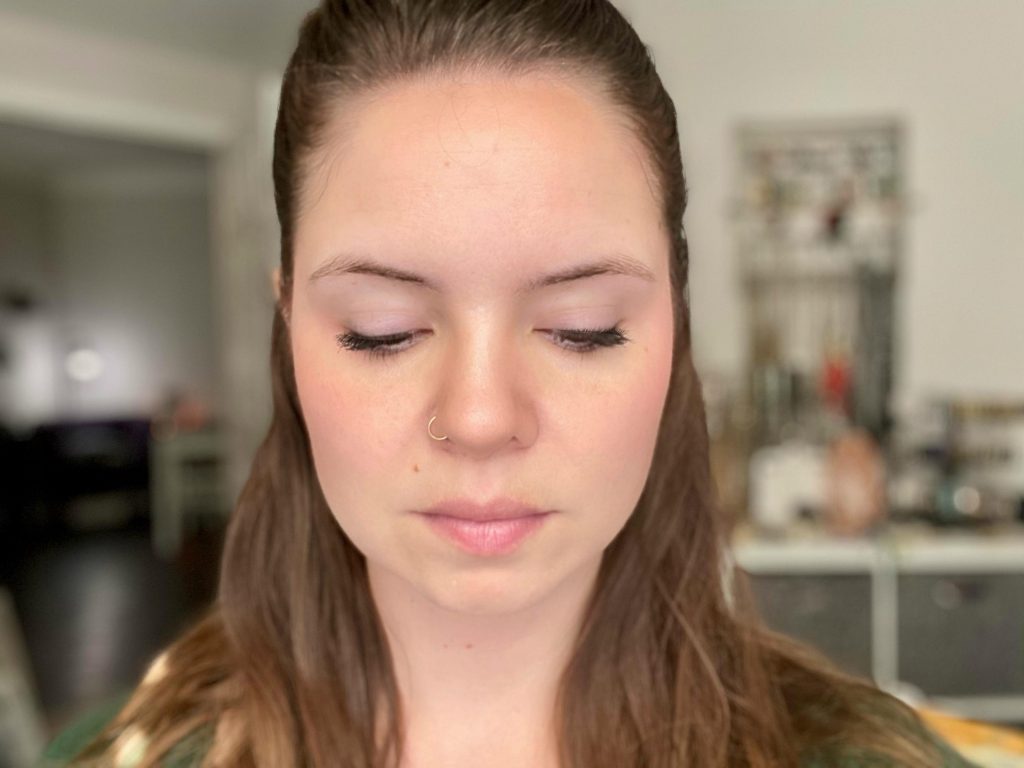
Healed Brows
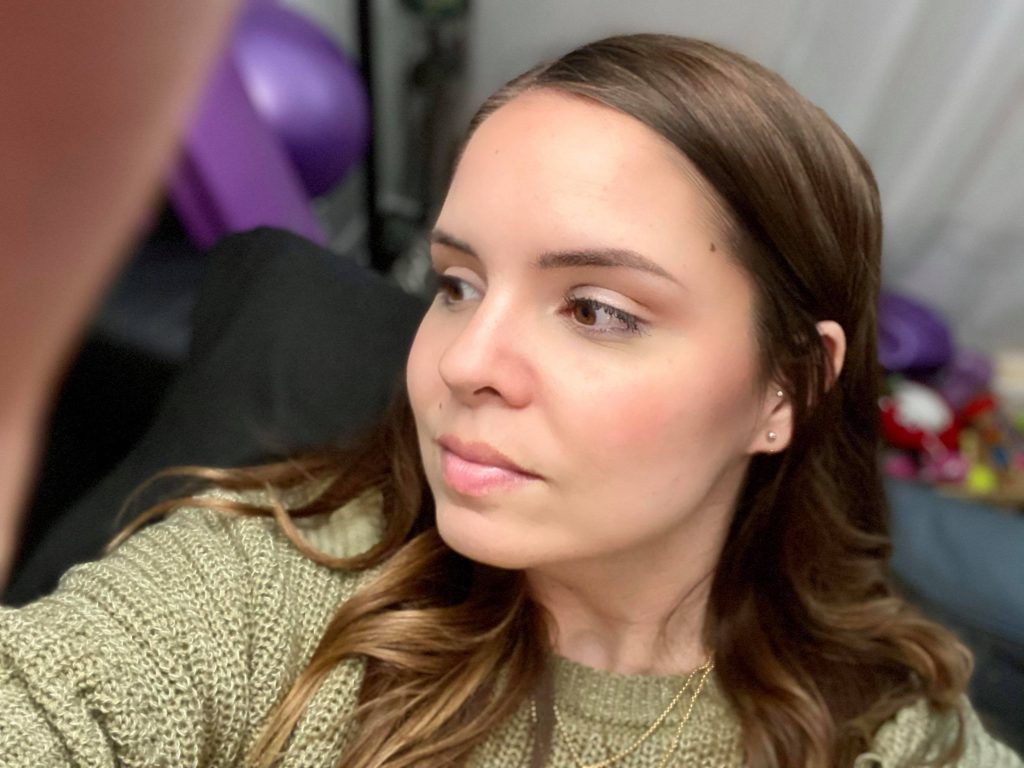
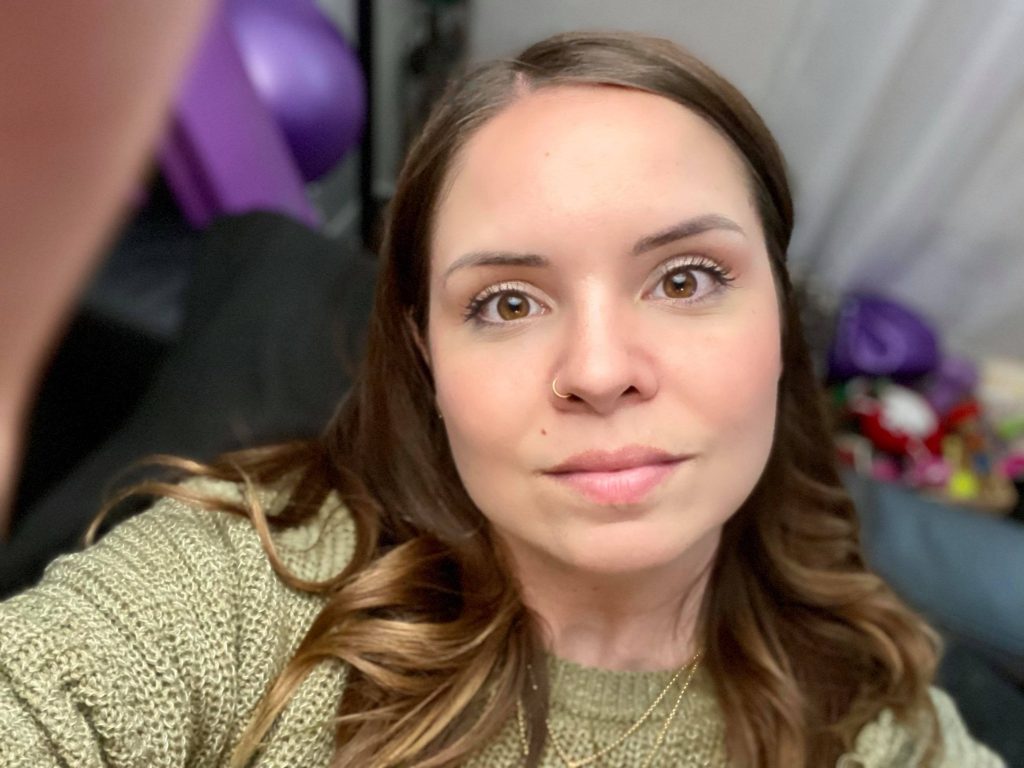
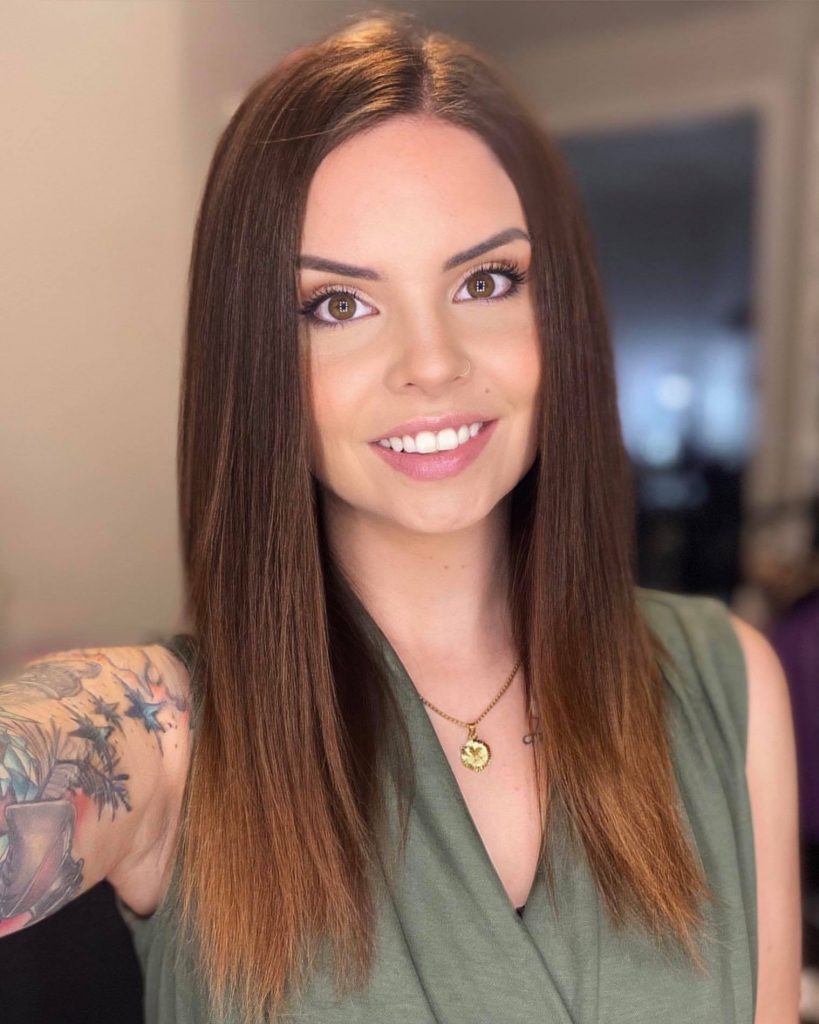
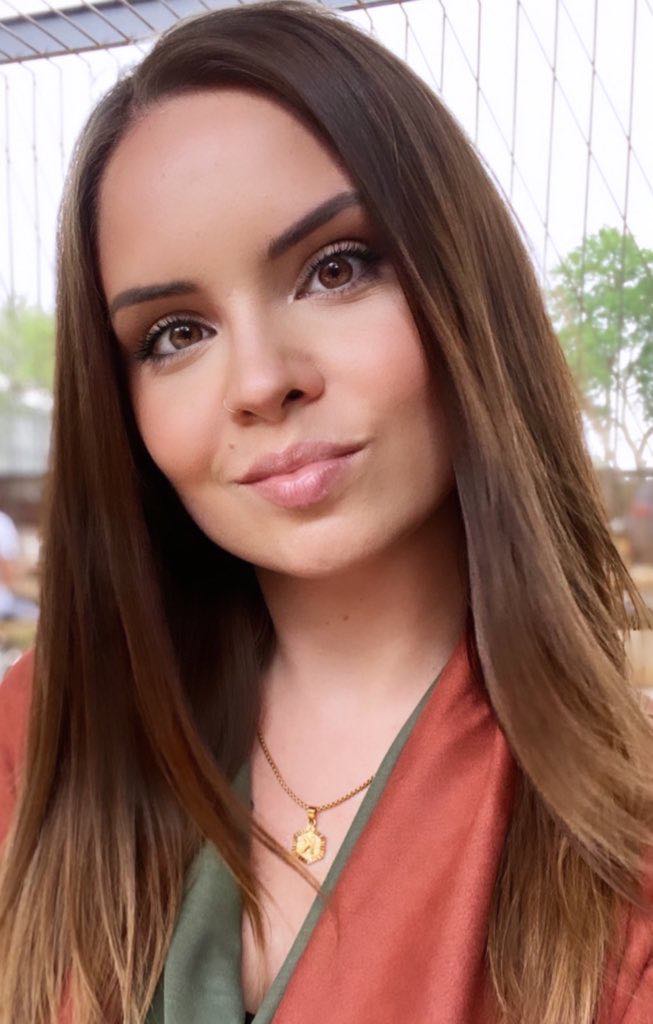
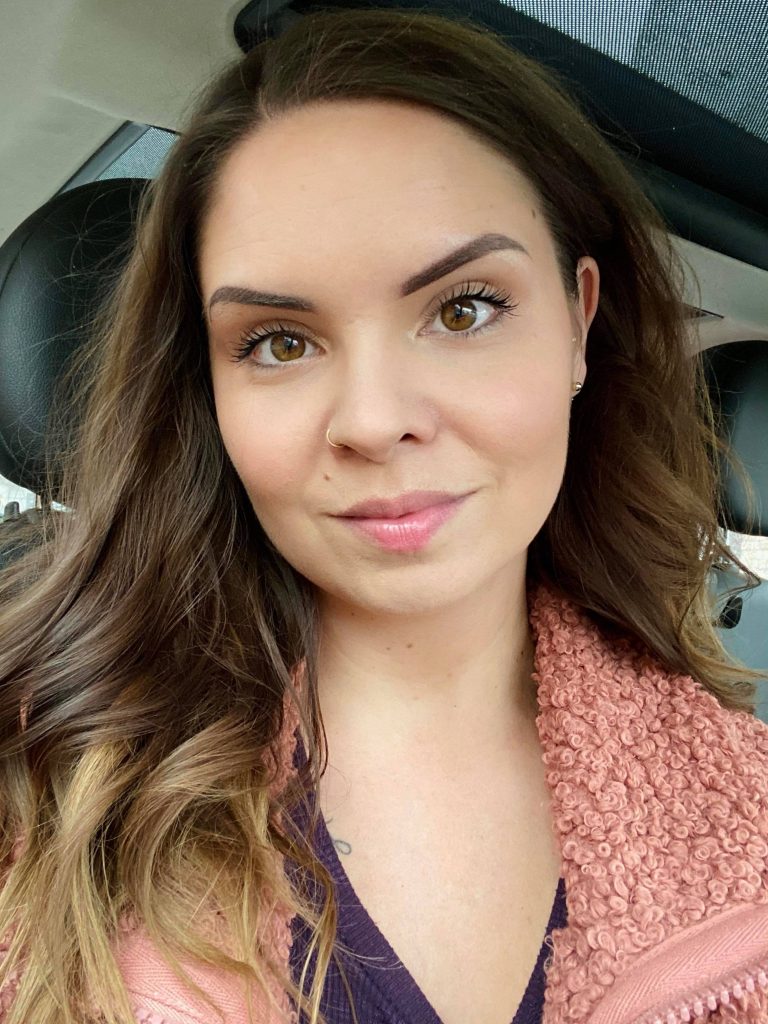
Below are some photos of my brows completely healed! I am in love with them and would highly recommend doing it if you’re considering it. I feel like I look so much more put together with perfect brows 24/7. If you’re someone who isn’t huge on makeup, this could be right up your alley. Once you’re done, you’re good to go! I cannot say enough good things!

